
User
Setting up your Account
Welcome to Capture! First off you should have got an email or message from your IT manager informing you of your username and password. Once you have these you can type:
https://app.connectgroup.co.uk/client/dashboard#!/properties/section
This is where you will be able to access Capture and should make sure to note down the URL so you can use it in the future.
Logging in for the first time
You should type in your username and password and it will go through and now ask you to change your password (some companies will not let you do this please ask your IT if you are unsure). You can now change your password and this is now your new unique pass to access all of Capture’s features. If you forget your username and password contact IT and they can reset this for you although it is best to pick a password you are going to remember
Creating A Template
Starting Off
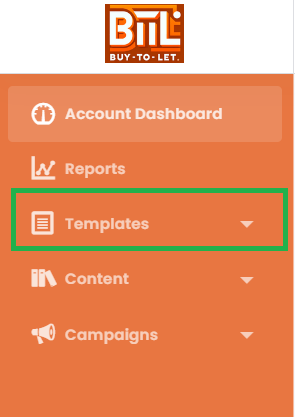
To begin with you should login to the Capture and use the login given to you by your IT support team. Once you are logged in look to the left of your screen and search the sidebar for the Template and click on the text part. This will be where you access and edit all email templates and is shared amongst all users and so is where you will find your teams shared templates to be able to build upon existing templates as well as create new ones.
Creating a new template
To make your very own template you must first click the new template button which will take you a new area.
Description – This is for you and your team only and is not visible to the end user and should be used to describe the purpose of the template.
Subject Line – This is the subject line that will appear for the end user so should be descriptive and alluring so the user is more likely to click onto the email.
API Key – This is a unique key for the template and should left blank so that one can automatically generate.
Email Profile – This is the email that you want to show up to users when they receive an email this will be set up by your admin.
After this you should select Drag & Drop Editor and once you have done all of this you can create a new template where you are given basic layout options to choose from depending on what you wish to create.
Once all of this is done you should click + Create New Template.

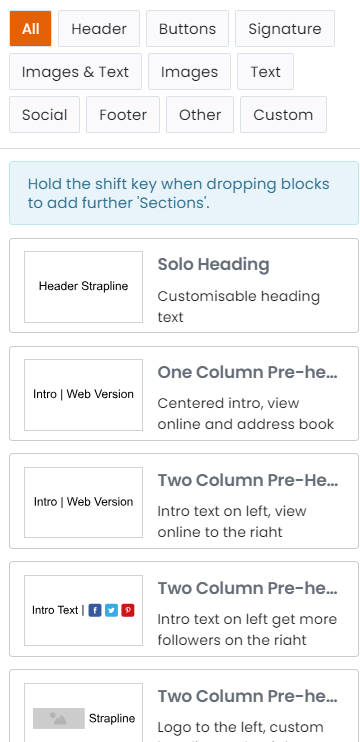
Sections Tab
Once you are inside the template editor you will have a bar on the left side of the screen where you can select different options to add to your page. To add new sections to your page click on the sections segment.
Header- This is for used for the top of your email and this is where you can create text based titles for your emails these usually hold the company name as well as who is sending the email. Furthermore, you can add your company’s logo and socials to this
Buttons – These can be used as an alternative to links and are buttons that can be clicked to send the user to a webpage such as your company website or to a form that they can fill out.
Signature – This can be used for a sign off at the end of an email and can feature a picture of the person as well as a signoff message.
Images and Text – This is used when you want both text and images in the same row as each other as well as allowing many layouts that can fit your aim.
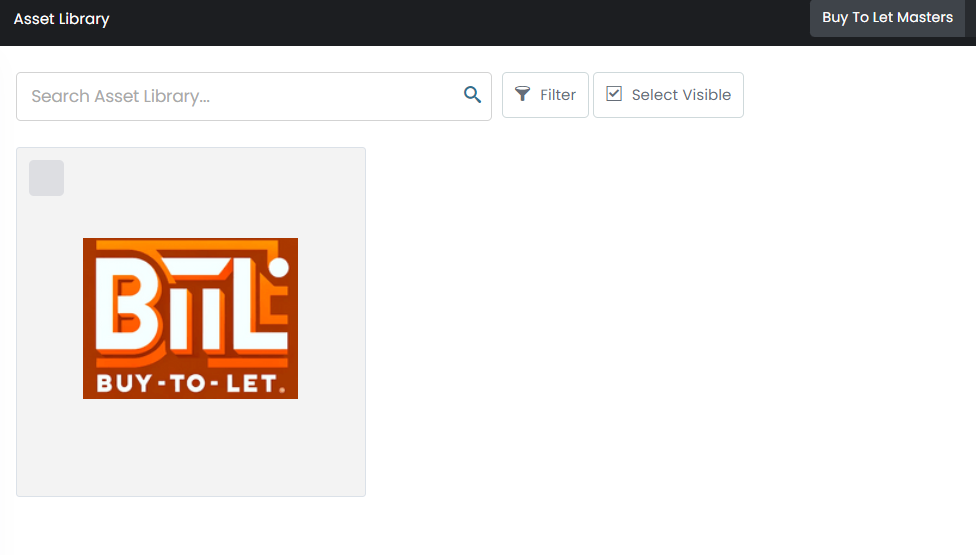
Images – These are just purely image-based sections where you can add multiple images to the same row. When adding images it will have placeholder pictures which can be changed using the asset library as mentioned previously
Text – These are just purely text-based sections where you can add multiple lines of text to the same row.
Social – These are rows where you can add your socials through the use of colourful symbols instead of just the link or a button.
Footer- This always goes at the bottom of the email and is for disclaimers and an opt out link which MUST be added to all emails. As default this will be added to all templates automatically.
Other – These are sections that don’t fit into a previous section and include a video player as well as a section divider.
Adding Images
To add images to a template there are two ways you can do this:
From URL – Simply click on the image in the email template and add the URL to the picture and make sure to copy the image URL and not the website URL as this can cause it to reject the image
From the content Library – First you must go onto the content library and upload a saved image from your computer and then you have access to them when making a new template.

Page Settings
On the side bar it will have a sections called Page this is where you can change the whole template as a whole as a base template it is good however if you want more customisation this is a good way to do it.
Title – This is the subject line in the email by default it will use {?$subject_line?} to use the set subject line in the template but can be changed to be something else.
Canvas Colour – This is the colour of the email itself so therefore all the contents background will change but not the outside of it. This is good for giving a background to white text as well as matching your brands colour scheme.
Body Background Colour – This is the colour of everything behind the email it covers everything outside of the content. It will not change the colour of the contents is by default set to white and for more emails this is the standard.
Body Content Alignment – This describes where the content will show up on the email it can be set to the left, right or centre depending on where you want the whole email to be placed and will not change the text location.
Padding – This is the gap between the main page and the background and is used for doing this as a whole email and not the actual content itself.
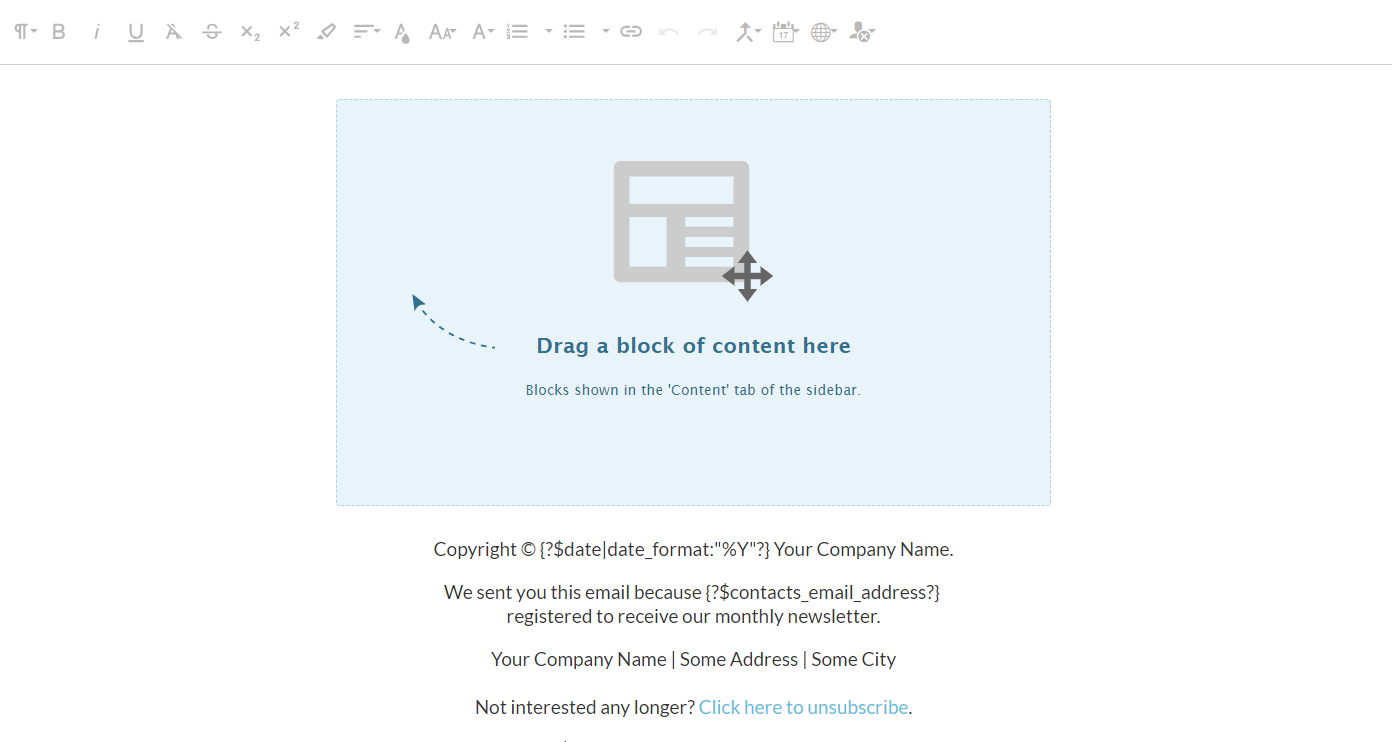
Addding Sections
Creating a template via the drag & drop allows you to grab the section you want to add and simply drag it onto the page. The sections are in a grid which means that you can only have one section per line and so cannot add an image section and a text section together. However, thankfully that’s why we have a images & text section which will allow you to do so.
The buttons at the top are for your text and work the same as in word. Importantly the icons will be greyed out whilst text has not been selected which can be changed by simply left clicking over the piece of text you wish to alter.
Changing a Sections Properties
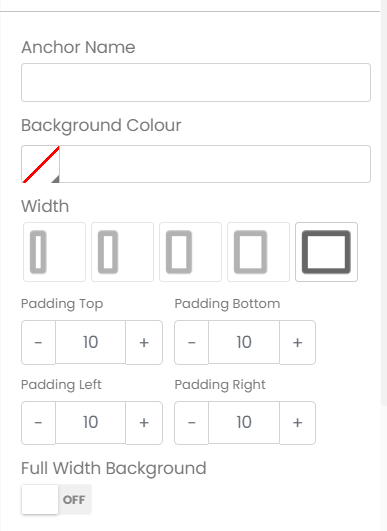
To change a sections values you must first hover over it and click the pencil icon that appears when you do where you can change the way in which it is displayed via the text boxes on the left.
Anchor Name – This is the unique name given to a section so that it can be linked to by a hyperlink to send the user back to this area. This can be useful for important information or more commonly used for long emails to send the user back to the top.
Background Colour – This is the colour behind the section and is independent of the page background colour it will change the whole section as well as the padding.
Width – This is the width of the section and has five options that are used to limit how much room the section takes up.
Padding – This is extra room taken up to avoid the text overlapping outside of the email page.
Full Width Background – This is a toggle where putting it on causes it to fill up the whole page for just that section.
Adding Custom Tags
Adding custom tags can be useful for making an email more personal and is great for getting a client to pay attention to your email. The custom tags can be found at the top of the template on the final four columns.
Merge User Data – This is all the data you have on the user such as gender, name, phone number and any custom fields that you hold on them. This is great for a greeting but can also be used to send out what data you have on the person to let them amend any changes they need to make so their profile is up to date
Merge Date – This allows you to input the date at the current time of sending and can be sent as either a number format or a written format.
Merge View Online Link – This lets the user select to see the email in a web view if they wish to or cannot see the original email
Merge Optout – This is a tag needed at the end of an email to allow the user to opt out of receiving these emails and cannot be sent without one. These should be put in the footer so that it doesn’t take away from the email.
The most common tag is used for addressing the user directly which is done by doing the following:
1) Click where you wish to add the text.
2) Click the first icon called “merge user data” and scroll down until you see a tag called first name.
3) Once you click this it will generate a text “{?$contacts_first_name?}” which is where your users name will be shown.
4) To add text around it make sure to leave a space either side and make sure to check it works using the preview button.
5) Once in the preview button the text will disappear and to check with a user select “Un-merged static content” and choose a team test member. Their name should appear once this is done.
If for any reason this has not worked make sure to double check nothing has been deleted inside the brackets and that their is space around the text. Otherwise check for other users as they may not have given a first name.
Template Overview
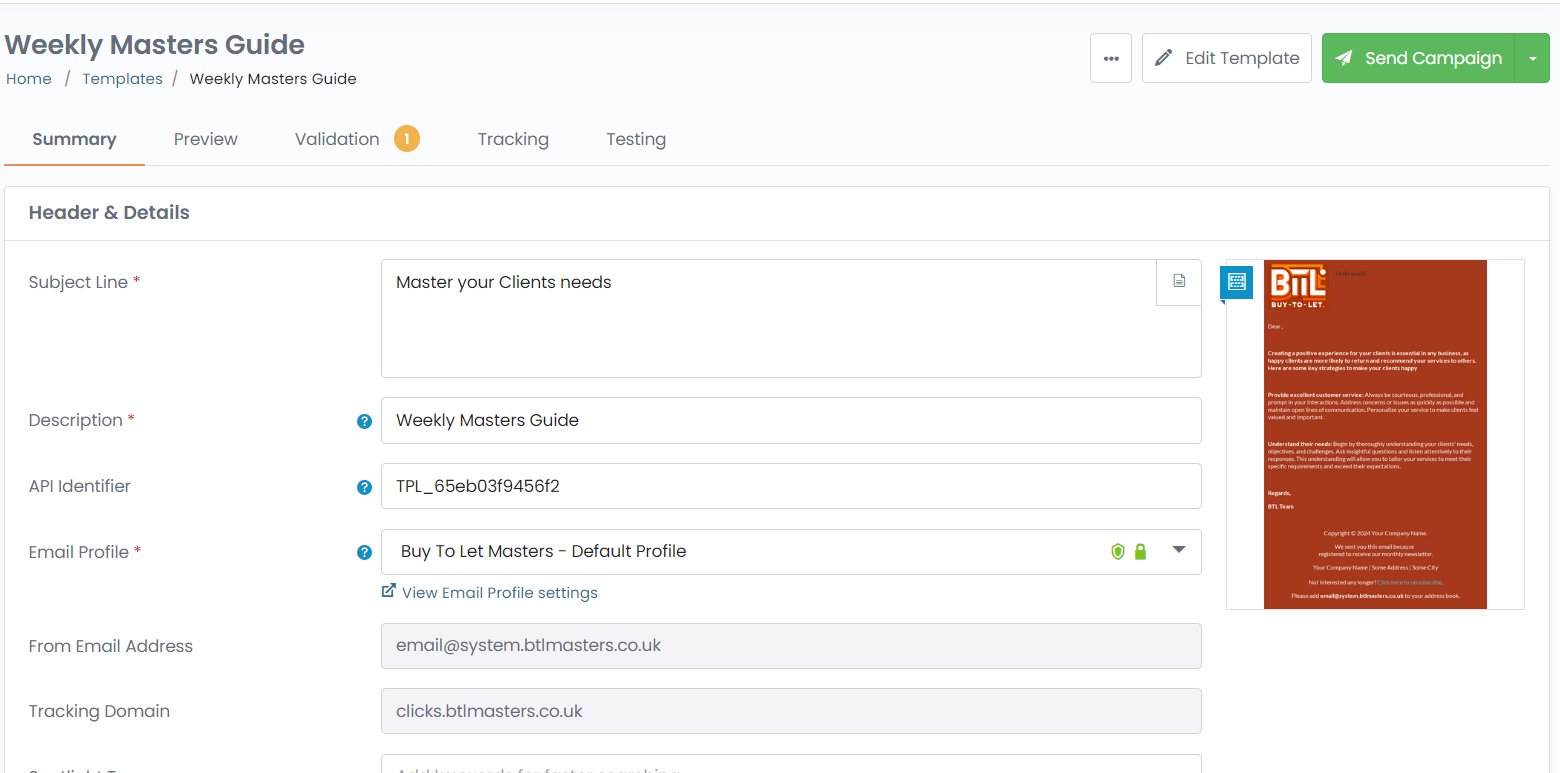
Once you have finished you can save your work and view the email template overview screen which gives you important information about how users will see the email as well as if it will pass checks for spam. As well as this if you have any unfinished changes you can edit it using the top left button.
Summary – This allows you to change key information about the email such as the subject line and the description which allow you to better control what is sent out to your clients.
Preview – This a brief look at what you will be sending out and has a Preview As section that can allow you to ensure that the personalisation text is working and will come up as the saved name for the user. As well as this you can see what your email will look like on tablets and mobile phones to ensure you are reaching all of your clients in a professional manner.
Validation – This will display checks done to your email and you should make sure as many as possible are green. If there are any red labels it will not be able to be sent out and will require you addressing the issue. A very common issue is “Opt Out link not included” which will require you to add an opt out link at the footer of the page.
Tracking and Testing – These are for once you send out the email and are used to see the response of the users as well as testing it to make sure that it will all go through how it is supposed to which is good to do before sending a campagin.
Campaigns
Starting A Campagin
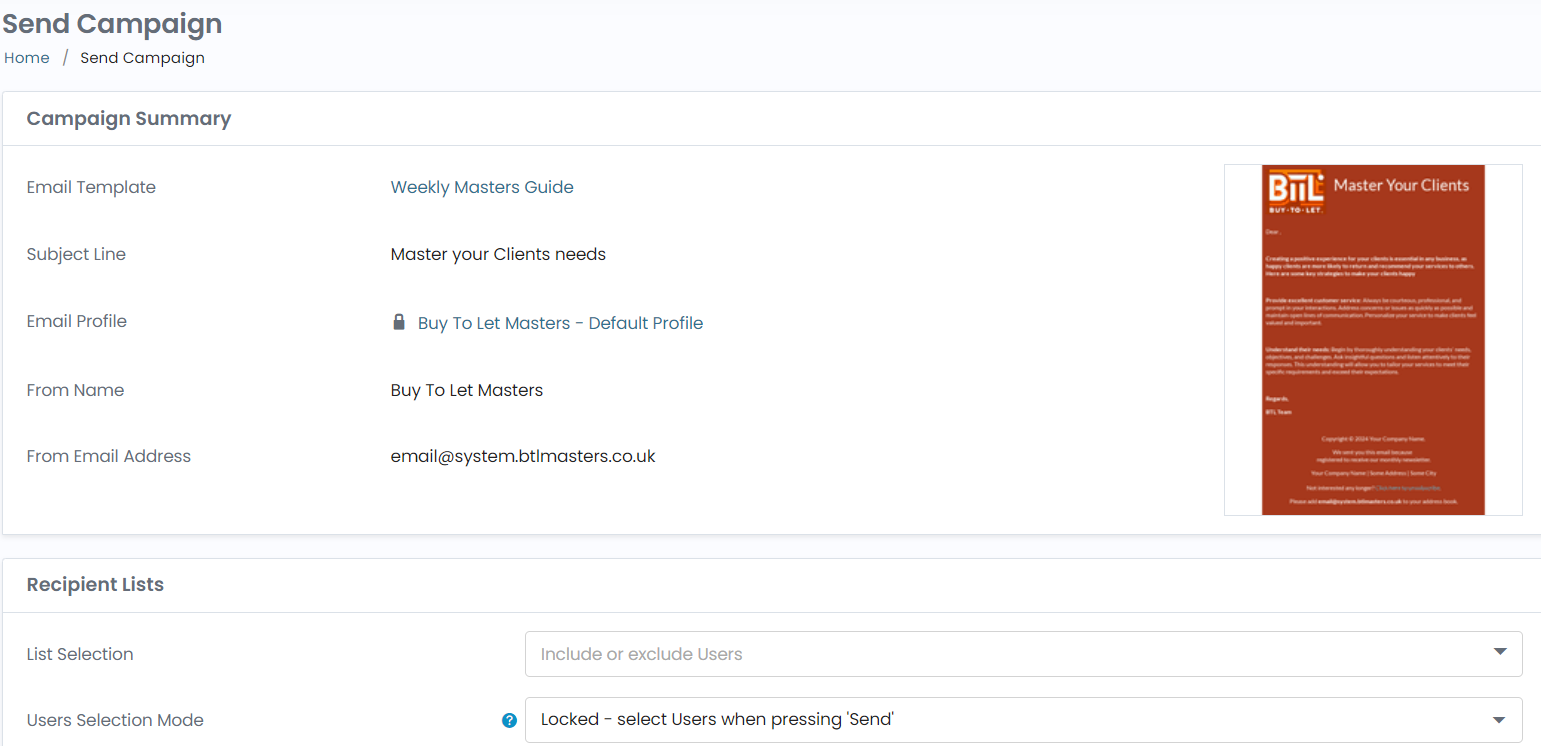
Once you have created the template it is time to send it out! To start make sure you are on the template overview screen and select send campagin which will load you onto this screen.
Campaign Summary – Most of this information will be static so just make sure all of it is correct and if not make the needed changes to the email template .
Recipient List – Select the users you wish to receive this by default it will be a seed list but can be changed to match the contents of the email
Once you have checked everything you are ready to send the campaign!
Tracking a Campaign
Tracking an email is great for understanding how a campaign has performed and capture has many ways to document and display this:
Overview – This tab will allow you to see everything on a larger scale and will tell you the basics of how your campaign did such as how many were able to be delivered as well as how many of those actually opened the email. The metrics given also let you know why certain actions may have failed and in which way the email could be improved to do better in the future.
Analysis – This gives you an even more detailed view into how people accessed your email such as at what time they opened the email and from what area they opened it from. As well as this it also gives you information on if people blocked you and on what service they did this.
Response – This is a basic overview of how people interacted with the email such as the links clicked and the replies they may have sent to the email.
Social – Converts the email into a depersonalised link to a website where anyone can view the email on a webpage for increasing the scope of your marketing team without having to create a new post.
Tracking – This is a click map that shows where users clicked the most and what percentage of people did so which is good for seeing what catches the users eyes the most in a clear and easy to read way.
Deliverability – This shows how many emails were hard and soft bounced and for what reasons that could be such as a bad email address or if they have been opted out of receiving these emails